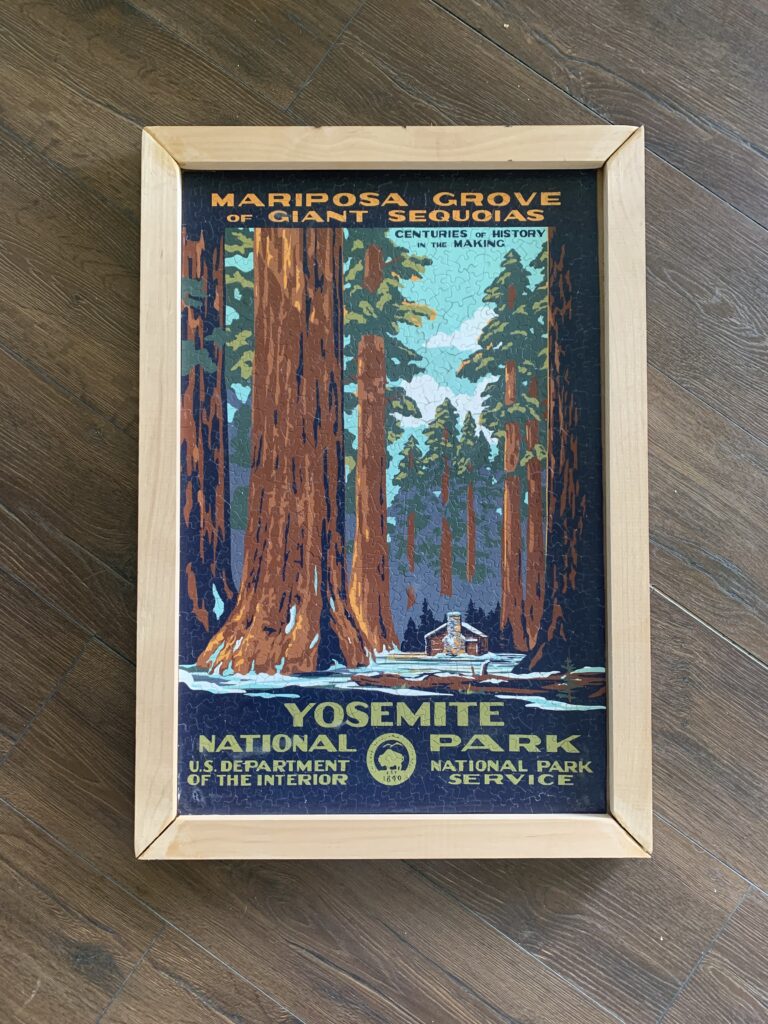
Do you like making puzzles? Are you sad when you have to break them down and store them away in their box? I did too, but then I realized that I could display these beautiful puzzles I’ve worked so hard on! If you want to learn how to make a beautiful puzzle picture frame in a day, read on.
This post contain affiliate links, purchasing items from this post helps me earn a small commission at no extra cost to you. Thank you for the support!
Things You Need:
- Puzzle
- Mod Podge
- Wood Glue
- 1 inch by 1/2 inch wood
- Stain or paint (if desired)
- Velcro squares
- Double Sided Heavy Duty Tape
Here are the steps on how I made my DIY Puzzle Picture Frame:
Make the Puzzle
- Choose any puzzle that you want to display! My home is tucked away in the mountains, so I wanted my pictures to reflect that. I’ve been choosing puzzles with pictures and artwork of Yosemite National Park, one of me and my husbands favorite places in the world. Over the years I have been gifted Yosemite National Park Puzzles and I wanted a creative way to display them all.
- Search here to choose your next puzzle!
Glue the Puzzle

- Gluing the puzzle is my favorite part! Very satisfying. I used Mod Podge, which is perfect for arts and craft projects. I used the matte glue, but they have a gloss option as well.
- Once I put the Mod Podge on the puzzle, I used an old gift card to spread it all around. I felt like the credit card works better than a brush because it really pushes the glue into all the nooks and crannies. And it’s easier to clean and reuse for your next puzzle!
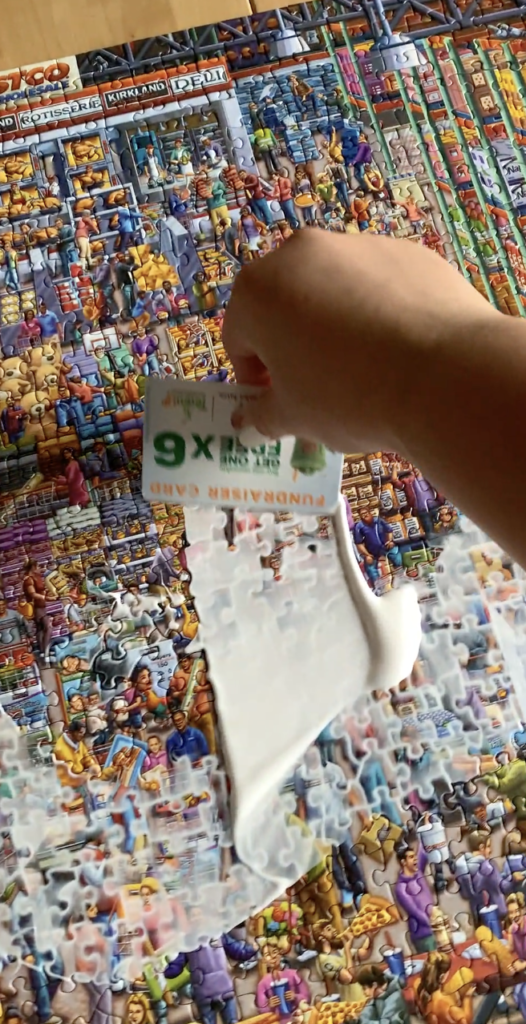
- Leave dry until the glue turns clear. It definitely looks scary at first when you pour white glue over your hard work, but it dries clear in a few minutes. Make sure that you put an even coat of glue over your puzzle.
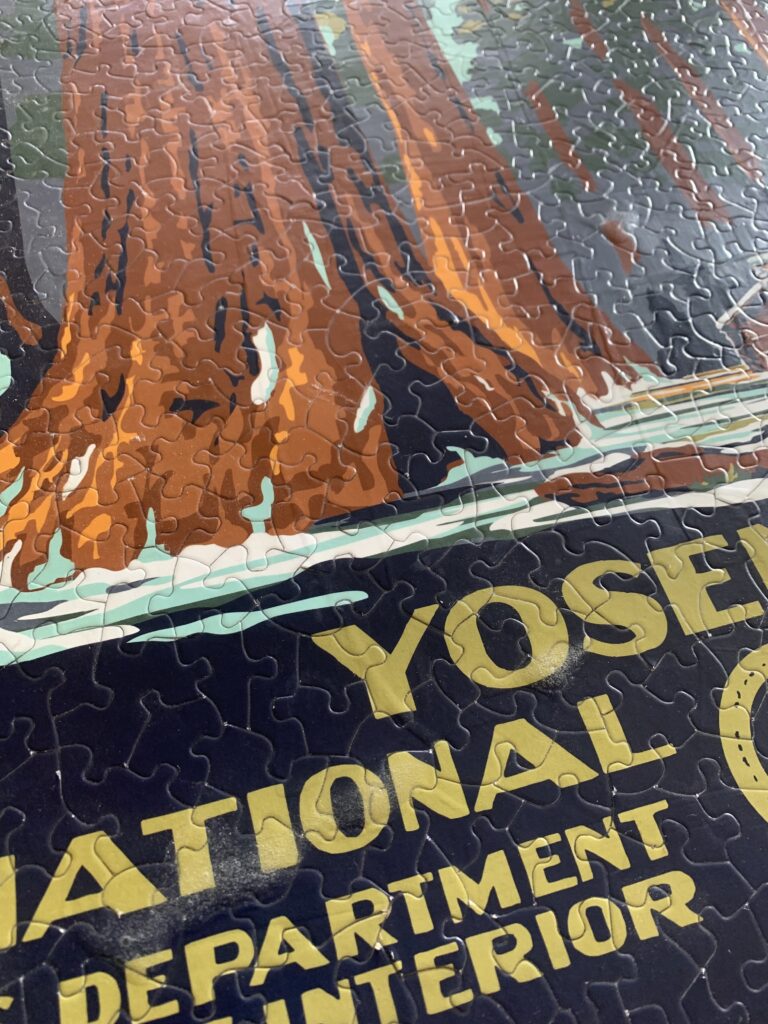
- You really only need one coat of glue if it is thick like the picture above. The first time I glued a puzzle I put a second layer on and the glue never dried properly. You can still see the foggy glue bubbles on the letters.
Cut Cardboard Background
- I don’t have a puzzle table, I use a large piece of cardboard and move my puzzle from place to place. When we have company over I usually hide the puzzle on the cardboard and slide it under the bed. When the puzzle is complete, I just use the cardboard as the backdrop while I glue so it doesn’t get on the carpet or nice dining room table.
- Cut your cardboard leaving one inch of extra room around the boarder. DO NOT CUT THE CARDBOARD THE SAME SIZE AS THE PUZZLE. You will see why when it’s time to frame it.
Glue Puzzle to Cardboard
- Using Mod Podge, I glued the puzzle to the cardboard. Even if you feel like you didn’t glue the puzzle enough, this helped me feel like it was never going to fall apart.
Purchase and Cut Wood Frame
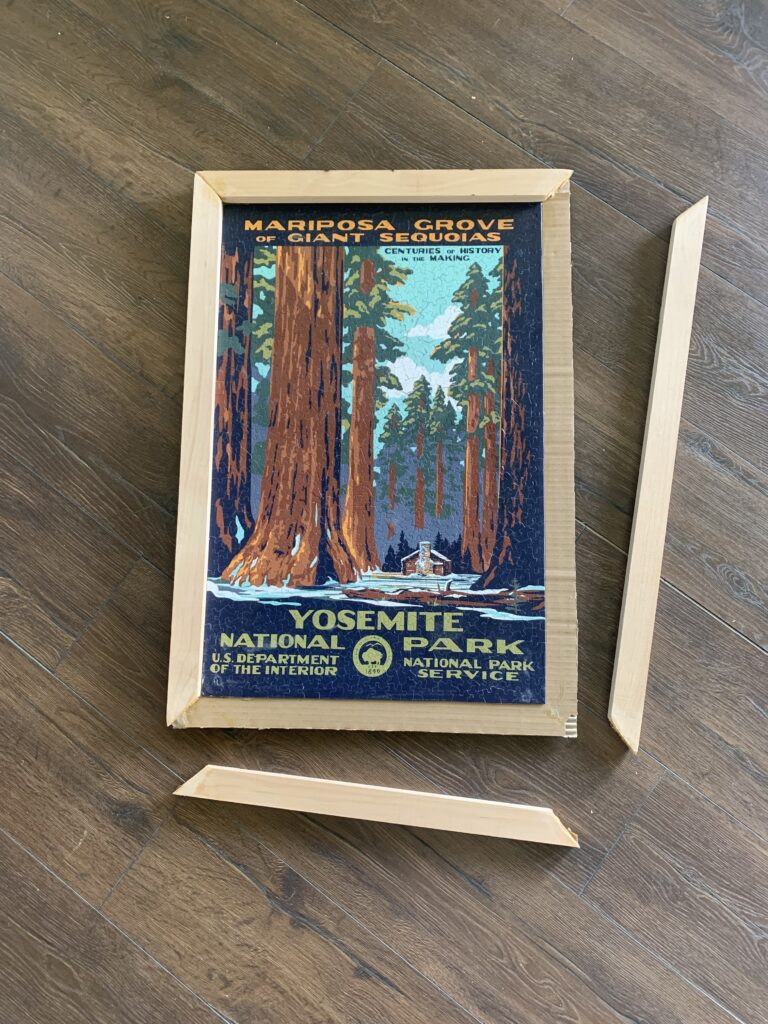
- I went to my local hardware store and bought 1 inch by 1/2 inch pieces of wood.
- I measured and framed according to the dimensions of my puzzle, then cut. I used my husband’s miter saw , but you can get the wood cut at your local hardware store or use a hand saw and guide kit. It doesn’t have to be fancy!
- I left my wood raw, but if you want to stain or paint your frame then go for it.
Glue Wood to Cardboard
- This is why I left 1 inch of cardboard around the outside of the puzzle. Now, you have something to glue the wood to. I used some wood glue I have in my garage, and you could totally add stronger reinforcements like brackets or screws.
Hang Your Masterpiece
- I used velcro squares, and it stuck for a while… one stormy night the frame goes tumbling down and I freaked out trying to feed baby. Traumatizing.
- For now, the picture frame is hung up with velcro, but I am looking for alternate ways to hang the frame. Maybe some super strong tape like this.
And that’s all folks! Nothing crazy or super special, but it’s what I did and I’m digging it.
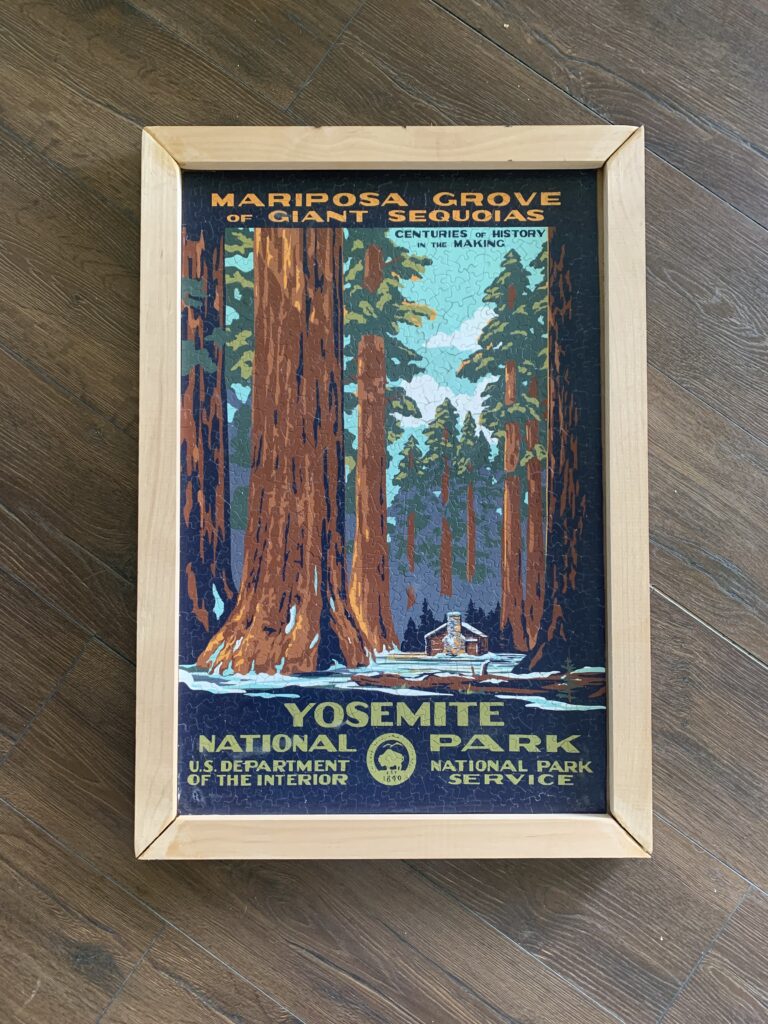
Last but not least, if you are thinking, “okay that’s cool, but I don’t want to build my own picture frame” then that’s fine! Here is a link to some picture frames that are reasonably prices and specifically for puzzles.
You can modify this however you want. I’m thinking the next puzzle I don’t even frame, just glue and hang.
If you have a cool puzzle you want to display, give this project a go! Comment below how you created your own puzzle picture frame, I would love to hear about it!
